Field recording

Liberation day cannon salute

Yesterday I found out that a gig that was booked for this morning wasn’t going to happen. Trying to find something constructive to spend my free time on, I remembered that the armed forces usually fire off a canon salute during liberation day. I checked the newspaper and the web and found this to be true also this year. I’ve never watched the canon salute at the fortress before, so I left the studio to go location scouting.

At Akershus fortress I first went by the visitor center to check when the salute was happening, where it was happening and if I would need and could get permission to record. Some of the questions a field recordist may ask can sound like questions from a weirdo to other people. Especially my “how close can I get to the guns when they are firing” question raised a few eyebrows. Unfortunately I couldn’t get a good answer about permission to record and it was too late to get a hold of whoever was in charge of making those decisions. I just had to go there the morning after and hope for the best. I was unsure if I should bring a full recording kit or the stealth rig, but decided to go for a full kit. I walked over to the cannon area, had a quick look around to find a good position and left for home.

IMG_1368

Apart from the possibility of being tackled by the military police, I had a few other worries. When I got home and started doing more research online it became clear that the scheduled time for the salute was either 9 am or at noon. I found contradicting information on official websites, so I just had to get there early to be sure not to miss it. I also found out that the cannon area I had scouted was the wrong one.. The correct place had a bigger surrounding area allowing for more flexibility for microphone placement, but it was also big enough to let a large crowd gather. Cheers and applause from an audience is not on my wishing list, but what can you do when it is a public event. I decided to look at this as valuable practice for when I get to do a controlled cannon recording sometime in the future. I’ve never recorded cannons before, so even if the sounds were ruined by the crowd at least I’d get some experience for next time.

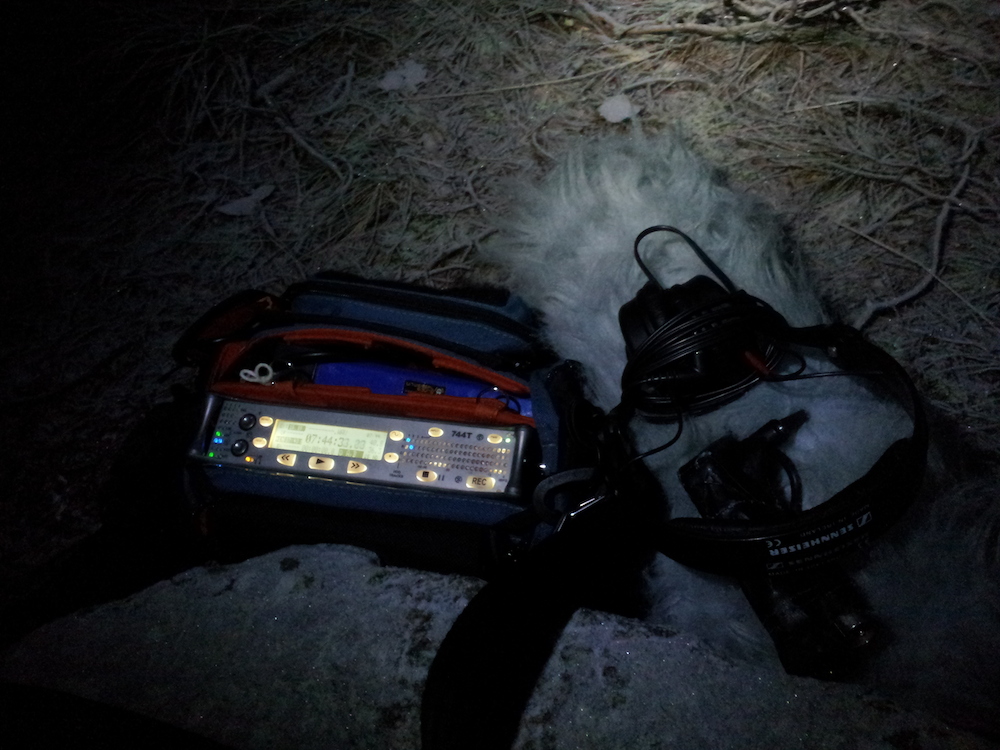
Because some of my gear is currently out on a shoot, I just packed what I had on hand. The rig I brought consisted of my Sound Devices 302 mixer + 744T recorder, a Rode NT4 stereo mic and a Shure SM58 dynamic mic. I also brought my Zoom H2 as a backup.

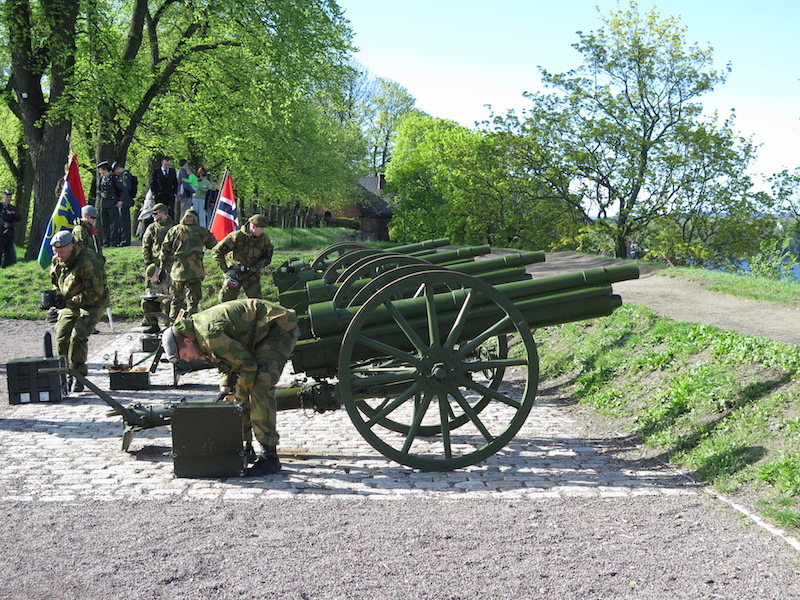
I arrived at Akershus fortress about 25 minutes before 9. All gates but the main one are closed that early, so I had to take a detour to get to the cannon area. When I got there I ran into a couple of MPs who were guarding the site. They didn’t see any harm in letting me record the sound of the cannons, so they let me pick a position pretty close to the action. The clock was getting close to 9, so I set up quickly to make sure I was ready.

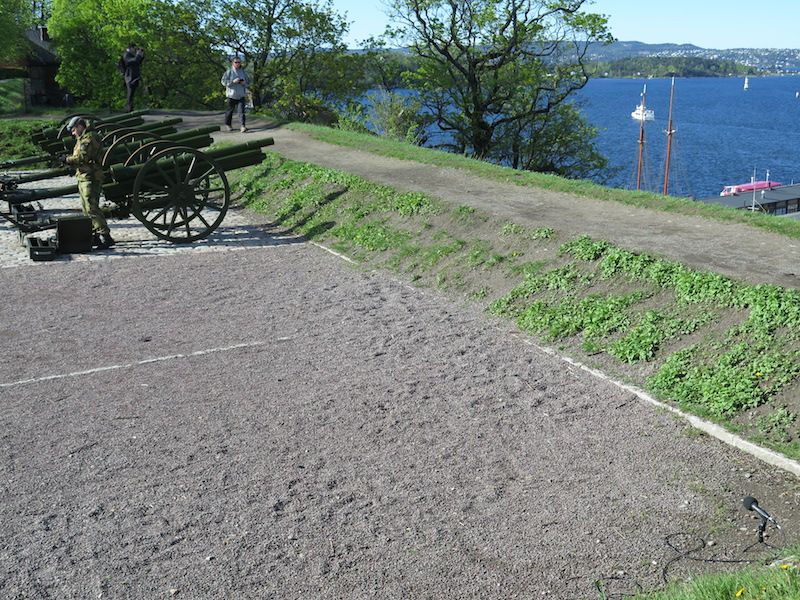
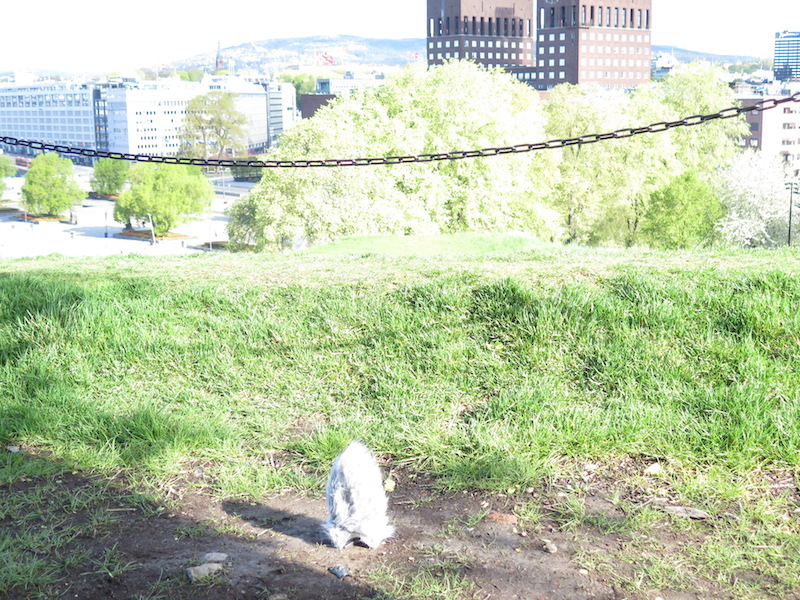
I placed the Shure SM58 about 5 meters from the closest cannon, 90 degrees to the right of the barrel. The Rode NT4 was placed about 10 meters from the closest cannon, a bit further behind the barrel. I found a place behind me for the Zoom H2. About 15 meters from the closest cannon, facing away to capture the slapback from the city buildings.

SM58 facing the cannons
Rode NT4 a bit further back
Zoom H2 facing away from the cannons, completely covered by the wind jammer.
Rode NT4 and recording rig. Zoom H2 in the background.

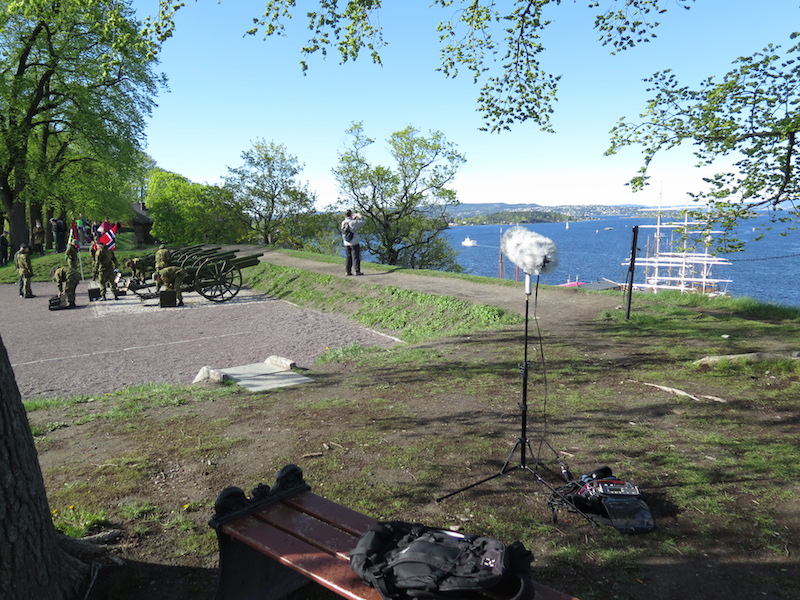
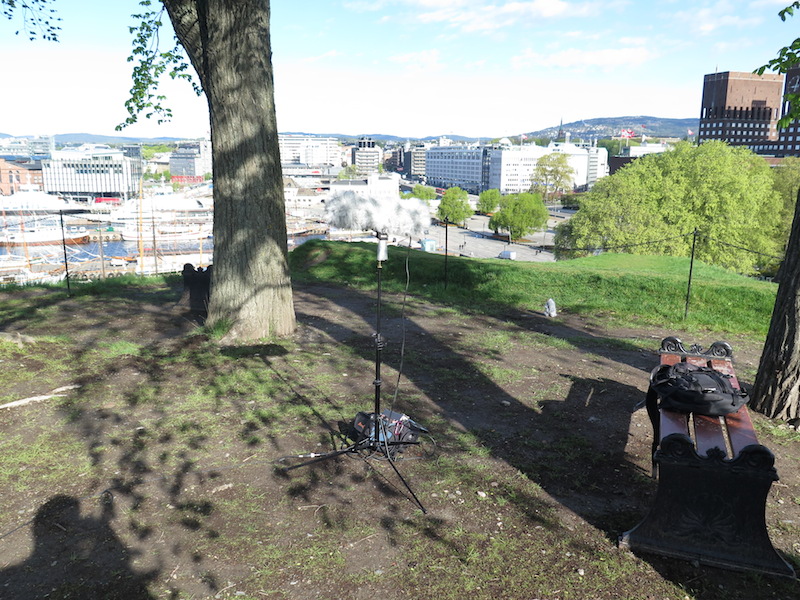
No crowd in sight, just a few photographers and reporters on the far side of the cannons. Everything looking good. I see the artillery soldiers approaching and I hit record. Immediately 744 display flashes “slow” next to the CF indicator. My CF card decided to crap out on me. I had no time to change cards and I was recording to both CF and HDD, so I crossed my fingers and let the recorder run.

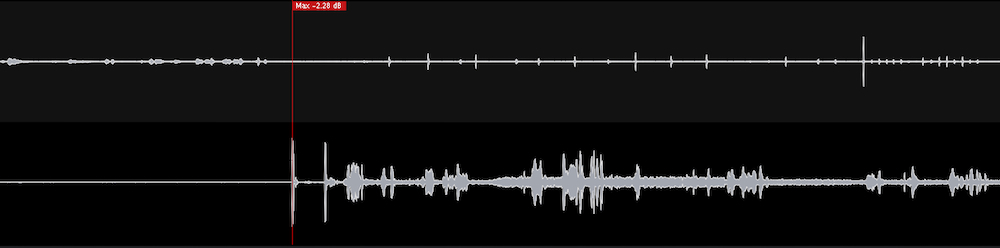
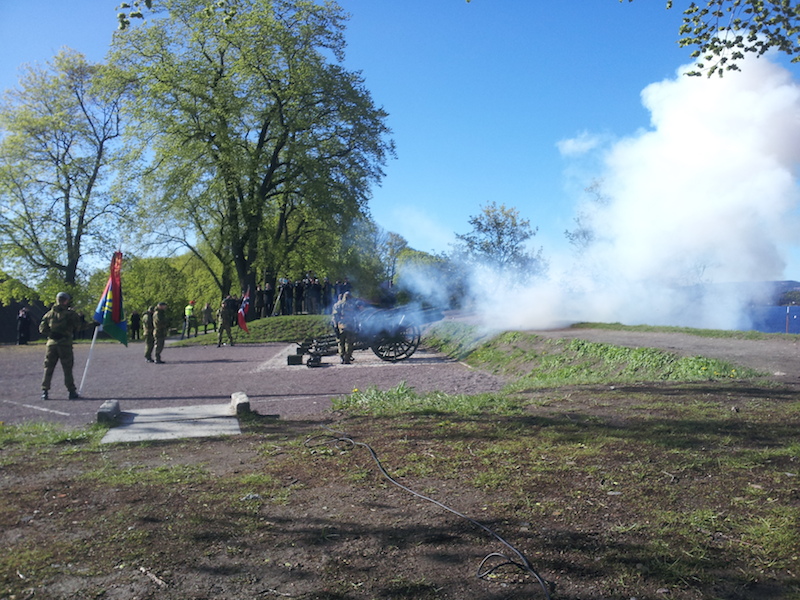
Ready! Fire! I feel the shock wave and see the limiters on my equipment engage before everything is covered in smoke. After 21 shots, it’s over.

20150508_090000

I pack up my gear and rush back to the studio to listen properly. My CF card is messed up and has only recorded a few seconds of audio. Very strange since this is a card I’ve used many times. Hopefully it’s a problem that a quick reformatting will fix. i will be testing that later. The files on the HDD are fine, so no worries. The recording sounds pretty good. The SM58 did not deliver what I had expected from a mic that close to the cannons. The Zoom H2 really delivered and sounded a lot better than I had expected. I can definitely get something good sounding out of this raw material. I’ve uploaded some samples and a few quick mixes to give you an idea of what can be done with a pretty basic setup like this. The playlist includes the raw recordings of all microphones with no processing. I’ve only normalized the tracks. I’ve also included some quick mixes with different variations of limiter use on the tracks. Enjoy!

Location foley

Location foley

I had the forest to myself


Have you ever done foley on location? I’m not talking about recording sound effects on location/field recording, but actually recording foley to picture on location. I feel that location foley can add something special to a project. I don’t do it for every project, but I like to do it from time to time.

I wrote about my very first location foley session in an old blog post. On that project we brought a laptop, an Mbox2 and a microphone and recorded straight to Pro Tools. The location was indoors and easily accessible, so recording to a laptop was easy. We had a power outlet nearby and we even had a table to set up the gear on. Not all locations are like this.

Currently I’m working on a short film with a lot of mountain hiking scenes. We decided to do some location foley for these scenes. I was not going to carry my laptop and audio interface for miles and miles and set it up in the forest, so I went for a lighter setup.

My weapons of choice are the Sound Devices 744T recorder with a Sennheiser MKH-60 to match the production sound.


Early morning. Getting ready to record after a long walk.


On a project I worked on years back, we used an ipod touch to view the video while recording. This is a simple solution that works, to a certain degree, but you’ll spend a lot of time when you get back in the studio. Syncing the recorded sounds was a pain. I wanted to make this easier for myself this time.

Location foley video

My solution was to send the production sound from the video to a second track on my recorder. This way I had a guide for syncing when I got back to the studio. I used a wireless transmitter, but a wired connection will also work, of course. For this session I needed the freedom to move around while the recorder remained stationary, so wireless was my only option. Every time I hit record, I slated my actions as well as the time code shown on the screen. When I drop the recorded file into my session later, I can see where the production sound starts and place this at the slated time code location.

Below you see the waveform from one of the recorded files. Track one starts with my vocal slate. A few seconds later you can see the waveform of the production sound on track two.

Location foley waveform
(Click to enlarge)
Yeah, I carried several pairs of shoes with me..

I hope this will help some of you and save you a little time syncing your recordings. Check out Walter Murch’s metronome trick from The Godfather 2. It’s awesome.

Ambience Field recording Water

Sauna


My wife is of Finnish descent. She had, of course, made sure that we had access to a sauna during our Christmas holiday. I grabbed the chance to record some sound effects there.

This particular sauna is a bit noisy because of draft from the chimney, but I decided to give it a go and capture the sounds I could. I recorded ambience close to the stove first. Afterwards I started splashing water at the rocks on top of the stove. The recorder had to be positioned very close to the rocks to avoid the noise from the chimney. It quickly got pretty hot, both for me and my Zoom H2. I recorded for as long as I thought my recorder could take it. My H2 is getting old now and I often use it as an expendable recorder, but I didn’t want to destroy it for this. I got out of the sauna when the Zoom started getting dangerously hot.

The water splashes turned out pretty nice. I did have to roll off a bit of low end to get rid of the worst rumble noise from the chimney. I also had to fade out the sounds at the end when the signal/ambient noise ratio got too bad.

Equipment used: Zoom H2

Field recording Location recording

Voss Wind

A couple of months ago I had the chance to record (probably) the biggest fan in Norway. I was working on a reality show and we were filming at Voss Vind. Voss Vind is a company that runs a wind tunnel in Voss, Norway. You can read more about it here. The reality show contestants were competing against each other in the wind tunnel instead of voting each other out.

The fan was running non-stop, so dialogue recording was a challenge even outside the tunnel. Dialogue recording inside the tunnel was not possible. The wind speed inside was as high as 250 km/h, so a wind jammer wasn’t going to help much. The wind tunnel system also recycles the air. This means that any loose parts, like a steel mesh windscreen from a lav, would go through the system and return seconds later at 250 km/h. Not good. With wind at 250 km/h blowing in your face, chances are you’re not going to talk much, but focus on keeping your mouth shut. I decided to stop worrying about dialogue inside the tunnel and capture sound effects for post instead. The dialogue outside the tunnel worked very well and post was happy.

I was allowed to stand in the waiting area, which is a 3 m long hallway with an open door to the tunnel. I used a zoom H4n with two layers of wind jammer wrapped around it. The fan was super loud, but if I kept the gain at the lowest setting, it was possible to record without distortion.

The sample I’ve uploaded starts with the fan powering up. In the next part one of the instructors is flying as far up as he can an then diving down. You can hear changes in the wind when he passes by. Unfortunately, the audience is applauding a couple of times, even though I asked them not to. Well, you can’t have everything. At least I got some pretty cool fan recordings.

Equipment used: Zoom H4n

You can check out this video to see how the pros fly in the wind tunnel:

Voss Vind: dynamic 4-way competition from Lika Borzova on Vimeo.